
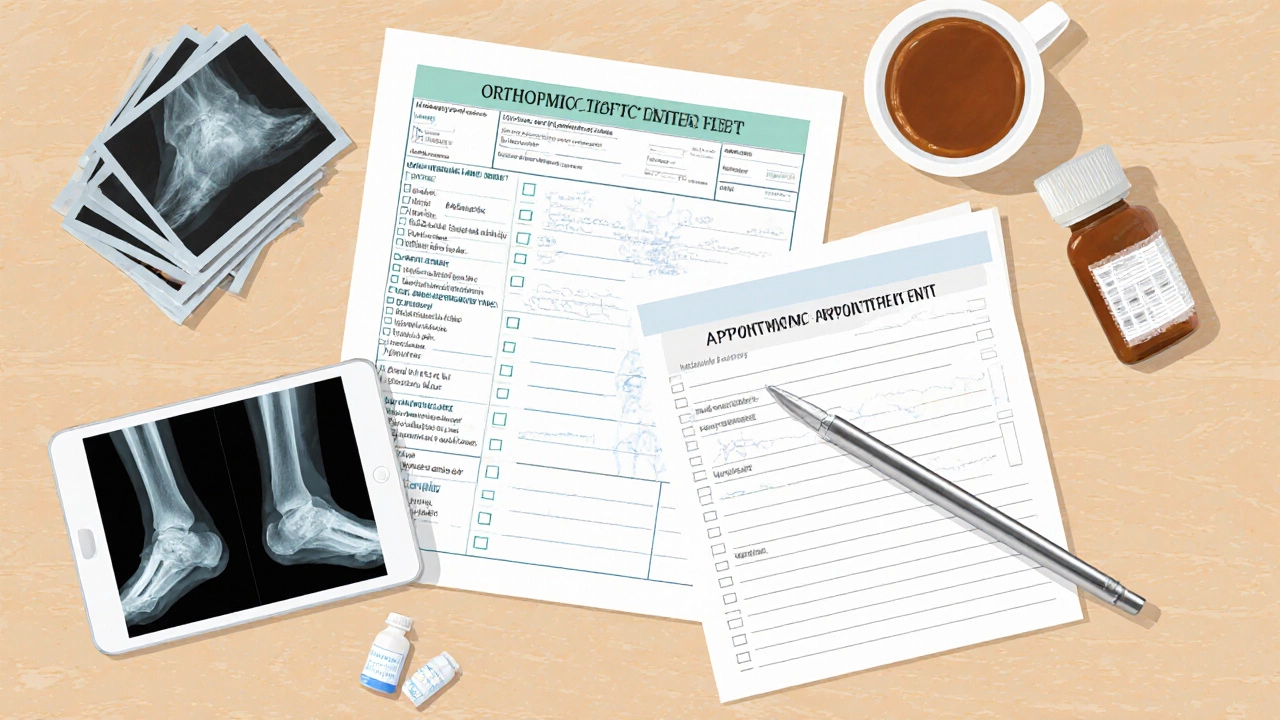
Orthopedic Appointment Checklist Builder
How to use this tool
Use this interactive checklist to organize your information before your orthopedic appointment. Complete each section to ensure you have everything ready for your visit.
1. Symptom Story
2. Medical History
3. Medication & Supplements
4. Imaging & Tests
5. Functional Goals
Your Prepared Checklist
Save this information before your appointment
Walking into an orthopedic appointment can feel like stepping into a maze. You know the doctor can fix the problem, but you’re not sure which details will actually help. This guide walks you through every piece of information you should hand over, why it matters, and how to organize it so the orthopedic doctor can diagnose faster and plan the right treatment.
Why a complete picture matters
Orthopedic specialists rely on three pillars: symptom description, medical history, and imaging or test results. Miss a piece, and the doctor may order repeat tests, delay surgery, or suggest a treatment that won’t address the root cause.
Build a symptom story
Start with the basics: where it hurts, how long it’s been hurting, and what makes it better or worse. Use the following template:
- Location - name the joint, bone, or muscle (e.g., left knee, lower back).
- Onset - sudden injury, gradual wear, or after a specific event.
- Quality - sharp, dull, burning, or throbbing.
- Duration - constant, intermittent, or only during activity.
- Triggers - climbing stairs, lifting, sitting long periods, etc.
- Relief measures - rest, heat, ice, over‑the‑counter meds.
Having the story ready lets the doctor pinpoint whether you’re dealing with arthritis, a muscle strain, or a hidden fracture.
Gather your medical history
The doctor needs a snapshot of everything that could influence bone health, healing, or medication safety. Create a one‑page list covering:
- Past surgeries - especially previous orthopedic procedures.
- Chronic conditions - diabetes, osteoporosis, rheumatoid arthritis.
- Current medications - prescription drugs, supplements, herbal remedies.
- Allergies - to medications, latex, or anesthesia.
- Family history - early‑onset arthritis, bone disorders.
- Lifestyle factors - smoking, alcohol intake, occupation, sports.
Because orthopedics often involves surgery, the doctor will cross‑check each item for bleeding risk, infection risk, and anesthesia compatibility.
Bring imaging and test reports
If you’ve already had X‑rays, MRIs, CT scans, or bone density tests, print them out (or have digital copies on a USB). Label each image with the date and the body part it covers. If you don’t have recent imaging, note the last date you had any scan - the doctor may decide whether a repeat is needed.
Prepare a medication list
A common pitfall is forgetting a daily supplement or an occasional painkiller. Write down:
- Drug name (generic preferred).
- Dosage and frequency.
- Reason for taking it.
- Last refill date.
This saves the doctor time and reduces the chance of a drug interaction during surgery.
Check your activity and functional goals
What do you want to get back to after treatment? Running a marathon, playing cricket, or simply walking to the office without pain? List your top three functional goals. The orthopedic specialist can then tailor the treatment plan-be it physiotherapy, joint replacement, or minimally invasive repair-to match those goals.
Quick‑reference checklist (table)
| Information | Why it matters | How to prepare |
|---|---|---|
| Symptom story | Guides diagnosis and urgency | Use the 6‑point template above |
| Medical history | Influences surgical risk and rehab | One‑page bullet list |
| Medication & supplement list | Prevents drug interactions | Include name, dose, frequency |
| Imaging & test reports | Provides visual proof of damage | Print copies, label with date |
| Allergy information | Critical for anesthesia safety | Write allergens and past reactions |
| Functional goals | Shapes treatment choice | Rank top 3 activities you want back |
During the visit: how to communicate effectively
When the doctor asks, answer directly but keep your answers concise. If you’re unsure, say so-don’t guess. Here are three communication tips:
- Ask clarifying questions if a term or recommendation isn’t clear.
- Repeat back the plan in your own words to confirm understanding.
- Bring a trusted companion especially if you’re discussing surgery. They can help remember details.
After the appointment: next steps checklist
Before you leave the clinic, make sure you have:
- A written summary of the diagnosis.
- Clear instructions for any pending tests (e.g., blood work, additional MRI).
- Prescriptions or referrals (physiotherapy, pain management).
- Follow‑up appointment date and time.
- Contact details for the orthopedic office in case questions arise.
Copy the summary into a notes app on your phone. The digital copy is a lifesaver if you need to share it with another specialist.
Common pitfalls and how to avoid them
Missing medication details - keep a medication card in your wallet.
Skipping the allergy list - write down even mild reactions; they matter during anesthesia.
Leaving out recent injuries - even a minor sprain can affect joint stability.
Providing vague pain descriptions - use the 6‑point template; it eliminates guesswork.
Not asking about recovery time - knowing the rehab timeline helps you plan work and family duties.
Mini‑FAQ
What documents should I bring for my first orthopedic visit?
Bring a printed list of your symptoms, a one‑page medical history, a medication & supplement list, any recent imaging or lab reports, and a note of your functional goals.
Do I need to fast before an orthopedic appointment?
Fasting is only required if you have a scheduled procedure that needs anesthesia. For a regular consultation, just eat normally.
How far in advance should I schedule imaging?
If the doctor requests new imaging, try to get it done within two weeks. This keeps the treatment plan moving without long gaps.
Can I see the same orthopedic doctor for follow‑up after surgery?
Yes, continuity of care is ideal. Ask during the first visit whether the surgeon’s team will handle post‑op follow‑ups.
What if I forget something after the appointment?
Call the clinic within 24 hours. Most offices keep a copy of your intake form and can resend a summary.
Takeaway
Being prepared isn’t about impressing the doctor; it’s about giving them every clue they need to treat you efficiently. Use the symptom template, compile a concise medical history, bring all imaging, list meds, note allergies, and state your functional goals. Follow the checklist, ask clear questions, and confirm the next steps before you leave. With this roadmap, your orthopedic visit becomes a collaborative problem‑solving session rather than a guessing game.